
Now that you have started storing your precious files and data into the NAS, it is time to back it all up. It isn’t fun when you lose all your data. Things such as photos and videos contain precious memories that can never be replaced should they be gone. The most common way to lose your files (unintentionally) is through HDD failure. Sometimes you can spot a dying HDD but in other cases, they just come and go without any warnings. It is thus vital to store the files in at least two locations. Today, I will be teaching you to do just that. Time to learn how to setup a scheduled backup of your files!
Firstly, you should have another HDD or storage space to store your backup files. For this time around, I will be showing you how to setup a scheduled backup to a local destination (an external HDD, another HDD inside the NAS etc). For now, I will assume that your backup destination is always on and mounted in the system. In future, I might do a guide on how to run a script that helps to mount and unmount a HDD (especially useful when using an external HDD).
Start by running this command:
sudo crontab –e
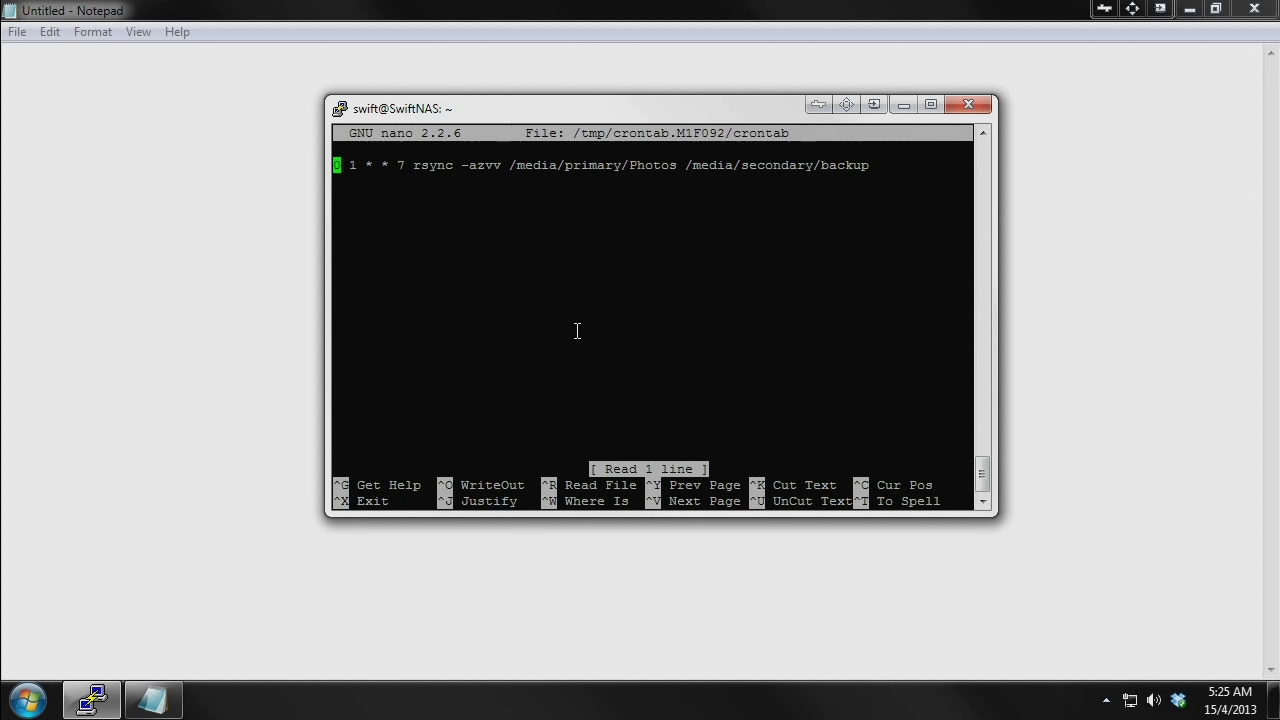
This is where you will type in the commands and actions for execution. Cron is a system daemon used to execute desired tasks (in the background) at designated times. For a detailed understanding, you can visit the Ubuntu documentation page. Otherwise you can type in the following:
0 1 * * 7 rsync -azvv /what-to-backup /backup-destination
This will backup your files once a week. The above command will run every Sunday at 0100HRS. Let us break up the command and understand a bit more of how the thing works. The first 5 variables set the schedule.
minute (0-59), hour (0-23, 0 = midnight), day (1-31), month (1-12), weekday (0-7, 0/7 = Sunday),
Placing an asterisk signifies that it should be done at every single time period. The first two variables are vital in terms of the exact timing as to when to execute the command. The latter 3 variables determine the frequency and rate as of which the command is run. Whether is it weekly, monthly or every other day. Customize it as you see fit. You may also use commas to run the command again in that time period or dashes to run the command continuously within that time period. So for example:
0 1 * * 7,3 rsync -azvv /what-to-backup /backup-destination
The above command will run every Sunday and Wednesday. With all that knowledge, we now jump to the next portion of the command. “rsync†is a tool used to copy and synchronize data from one location to another. There are many options that you can choose (read more here) from but the above “-azvv†should be sufficient to backup every single file while maintaining the original properties.
-a archive mode; performs an exact copy of the source and preserves the properties of the file (date and time, file owner, permissions etc)
-z compresses the data
-vv increases the verbosity of the reporting process
Another option that you might want to consider is “--deleteâ€. This means that the backup will be synchronized with your source. A deleted file from your source will also be deleted in the backup.
The first location points to the files you want to backup. The second location points to the destination as to where the backup will be stored. Edit according to your needs. Once you are done editing the command, press CTRL+X and save the file. If you want to have the backup up immediately (I encourage you to do this. You will also check to see if your rsync command is working) simply type in the command portion:
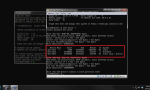
rsync -azvv /what-to-backup /backup-destination
rsync will start doing its job and soon you will see that the contents in /backup-destination will be the same as the contents in /what-to-backup. The initial backup will take some time (depending on how much data you’re backing up) but in future rsync will only copy the files that are new or modified. It works somewhat incrementally.
There you have it. A working backup schedule is in place! If you need more advanced methods (excluding certain files, directories, file types etc), give Google a go to search for what you need. This guide is meant to provide the basic knowledge and all these are sufficient enough for you to get a working backup solution going.


One thought on “DIY NAS – Backing Up Your Files (Local)”