There are many ways to transfer files between your devices and your NAS. The most popular and obvious method is via FTP. There are other ways as well and one of them is via a software called Seafile. Seafile is similar to the likes of Dropbox where it focuses on syncing files between devices. By running Seafile on your NAS or server, you will be able to host your own Dropbox like service. There are many other free alternatives (ownCloud, Sparkleshare etc) as well but for this article we will be focusing solely on Seafile.
What does Seafile do for you? Basically, it allows you to create a storage space for a particular user and he will be able to access and/or share it wherever and whenever he wants. Files will be synchronized across devices. It is great for file collaboration or simply for you to store files to transfer between devices and for easy access. Yes it is exactly like Dropbox, Box.net and your other cloud storage services.
You must be wondering why use Seafile instead of other free services that are readily available out there? For a start, you get to choose the amount of space you want to have as long as you have the drives to support it. Secondly, it is a great way to uphold privacy of your files as ultimately the files stay with you. Thirdly, it is something that you can do with your NAS so why not.
There are reasons why I chose Seafile and one of which is that it is completely free. ownCloud, the other main popular competitor, is great but the mobile apps that they provide do cost a small fee. There are many people discussing the pros and cons between the softwares and you can simply Google them up. What I’ll say is that both are great but if you want it to be absolutely free, Seafile is the way to go. That said, Seafile is extremely easy to setup. You can follow their official instructions or watch my video/read my paraphrased guide to get everything up and running.
Firstly, make sure you have the pre-requisite packages and softwares installed on your server. The easiest way is to simply install all of them, skipping the ones that are already installed with the following command:
sudo apt-get install python2.7 python-setuptools python-simplejson python-imaging python-mysqldb
You will also need MySQL to be installed (there are individual steps for it. Just follow through and remember your choices especially the password you set for root):
sudo apt-get install mysql-server
Next, you will have to find the appropriate installation package for your system. Visit the official download page and find the package that you need. Copy that into your clipboard. Next, run a wget command to download it to your server:
sudo wget {insert URL here}
Once you have it downloaded. Move the package to the folder of installation. Extract its contents afterwards:
sudo mv {file name} {destination}
cd {destination}
sudo tar –xzf {file name}
You can now choose to move the installation package (as suggested by the developers) into another folder called “installedâ€. This will allow you to keep packages as you update them and revert should there be any need in the future. To do so, simply create a new directory and move the package inside:
sudo mkdir installed
sudo mv package installed
Now navigate into the newly extracted folder. It should be something like seafile-server-(version number):
cd {extracted folder}
Inside, you will then run the setup script (If you want to manually create your own MySQL databases. Do read the official wiki for more instructions. Otherwise just use the script and allow it to create them for you). Follow the instructions on screen:
sudo ./setup-seafile-mysql.sh
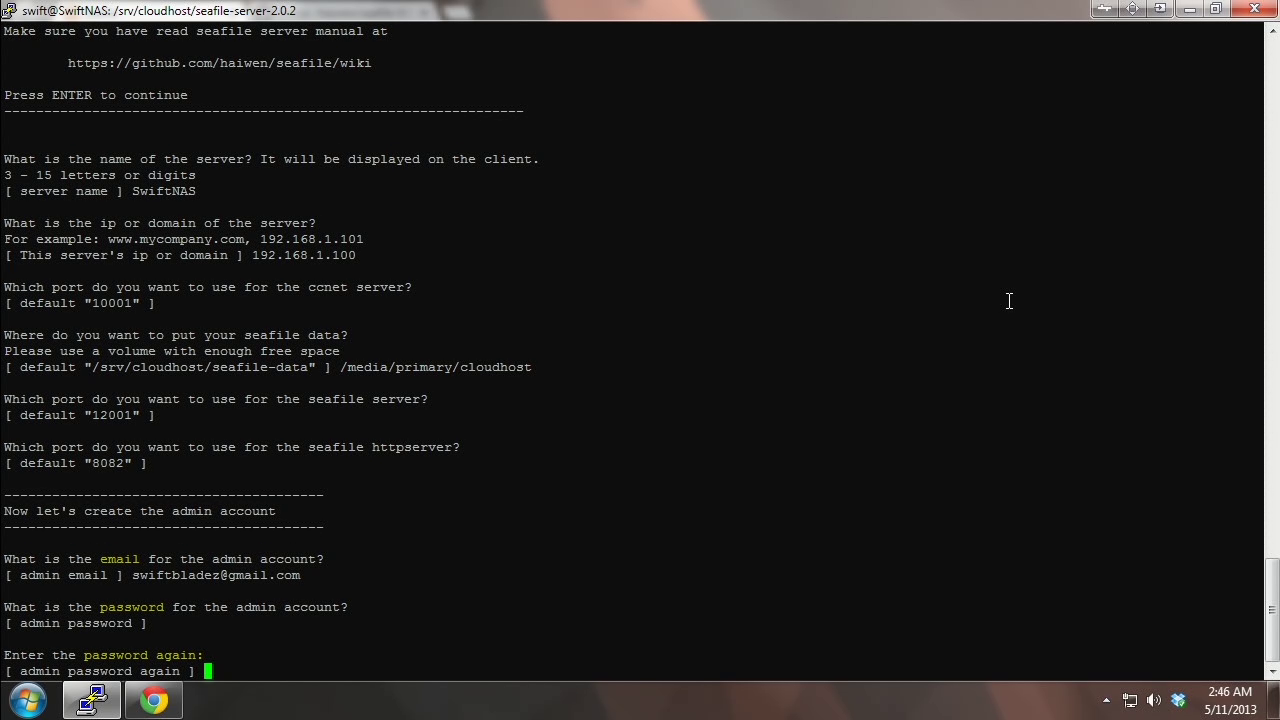
You can change the ports to whatever you like (make sure it isn’t conflicting with other services) but do remember them as you will need to use them to access the service. (EDITED 20/02/2014: IMPORTANT! I made a mistake in the video telling people to use their LAN IP. Instead, use your WAN IP or dynamic domain if you have one. If you use your LAN IP, you will not be able to download/upload files from outside your network) Please watch the video if you want a step by step walkthrough. Once you have it installed, it is time to run the software:
sudo ./seafile.sh start
sudo ./seahub.sh start {port of your choice}
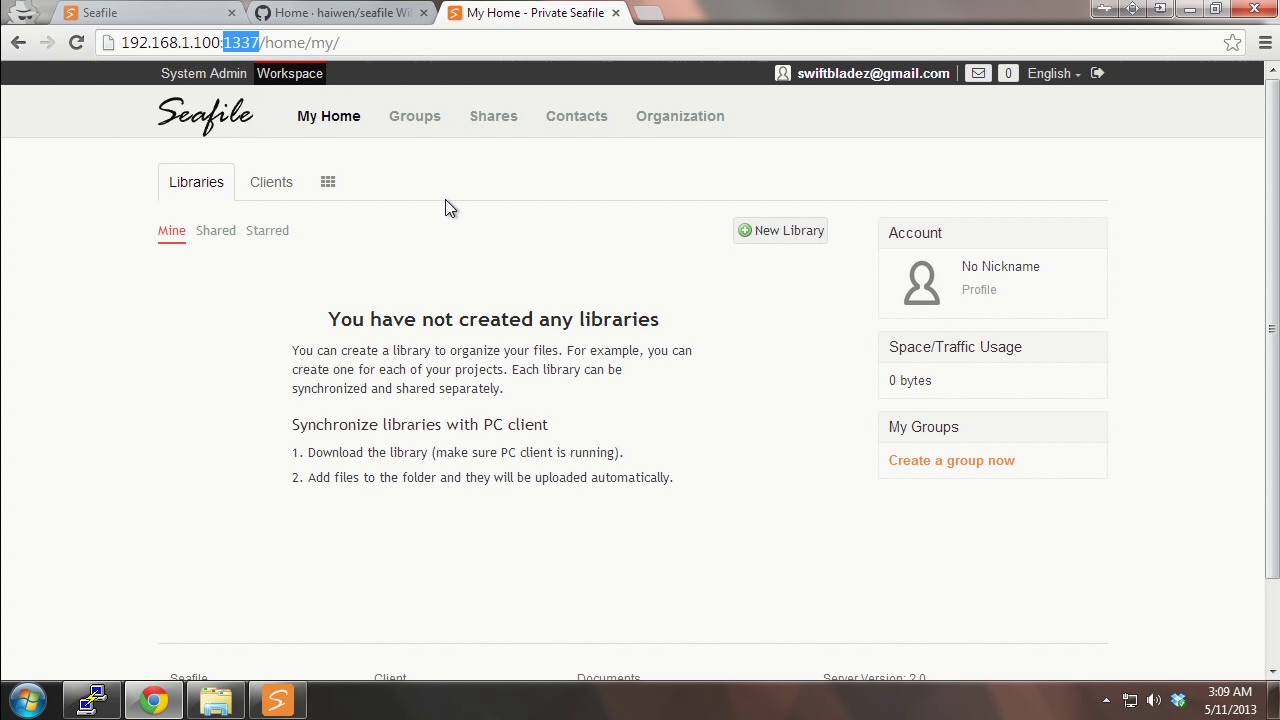
Once you’ve started the software services, you can open the web app by navigating to:
http://{your ip / domain name}:{the earlier port}
You will arrive at the login page. Simply use the username and password you’ve keyed in earlier to log in to the admin account. You can now manage from there (create new users etc).
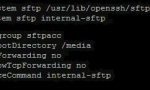
Once you have everything done and confirmed to work (locally). You can start port forwarding the relevant ports to give global access. Please remember to create rules for the ports within your firewall should you run one (you should). You can follow these instructions to ensure that Seafile is part of your NAS start up process (in event your NAS is restarted).
Otherwise have fun with it! Try it out on your smartphones, your mac, pc etc. If you would like to customize the software further, do read the official wiki for more information.